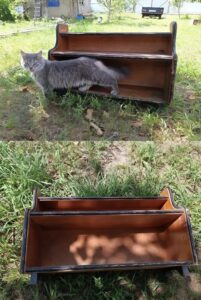
The first thing I did was to flip the rack and remove the legs so that the structure would be cleaner and more suitable for fixing to the wall.
Next, I lightly sanded it and carefully cleaned it. I didn’t want to keep the plywood look, so I opted for a lighter color.
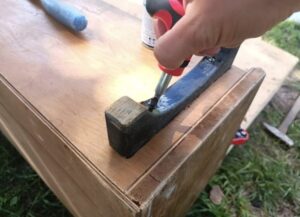
To create the support, I found a round stick in the shed, cut it to the right length, and then drilled holes of the appropriate size into the rack.
After a good cleaning, I started painting. I used bright white acrylic paint, which is easy to apply, odorless, and doesn’t require a finishing varnish.
To add a bit of life to the shelf, I decided to contrast the old dark parts by decorating them. I also drew a pattern using a stencil, which I carefully traced with a pencil.
My husband gave me a hand with the assembly: he screwed the fixings to the back of the shelf, allowing me to easily hang it on the wall. And voilà, my new kitchen shelf is ready to use!
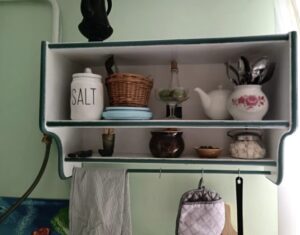
I placed all the necessary cooking utensils on it: salt, spices in a basket, a towel, and a spatula. There was also room for small items that are frequently used, like toothpicks, forks, spoons, and a sugar bowl.
The shelf is a practical, elegant, and functional piece in my kitchen.